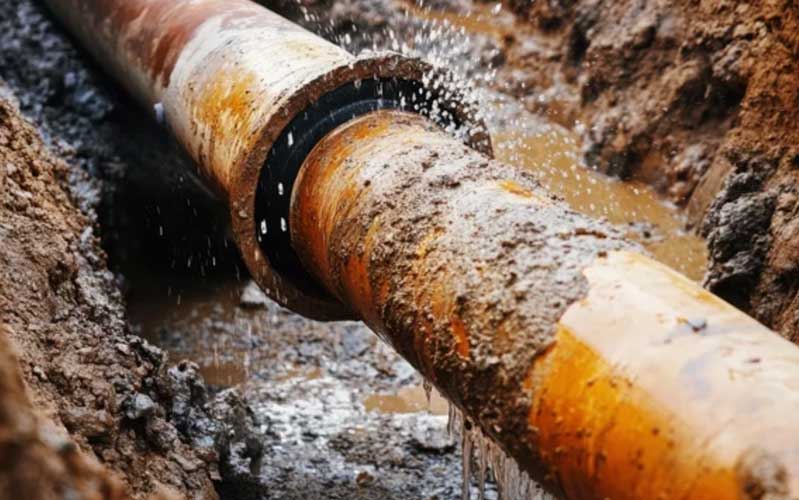
How Do Plumbers Detect Underground Water Leaks? Expert Leak Detection by Active Plumbing & Air. For over 30 years, Active Plumbing & Air has been the trusted name in Las Vegas for high-quality plumbing and air conditioning services. As a family-owned and Las Vegas Valley Water District-approved repair contractor, we specialize in identifying and repairing underground water leaks efficiently and affordably. With a 4.9-star rating and 819 Google reviews, our commitment to excellence is unmatched.
If you suspect a hidden water leak, early detection can save you from costly damage and high water bills. Here’s how our expert plumbers locate and fix underground water leaks.
Signs You May Have an Underground Water Leak
Detecting water leaks early is crucial to prevent structural damage and conserve water, our most valuable desert resource. Some warning signs include:
✔ Unexpectedly High Water Bills – A sudden increase in your bill may indicate continuous water loss.
✔ Wet Spots or Puddles – Unexplained damp areas in your yard could mean a broken underground pipe.
✔ Low Water Pressure – If your faucets are dripping weakly, a leak could be reducing flow.
✔ Sounds of Running Water – Hearing water movement even when everything is off suggests a leak.
✔ Foundation Cracks or Shifts – Long-term leaks can lead to soil erosion, affecting your home’s foundation.
If you notice any of these signs, contact Active Plumbing & Air for a thorough inspection.
How Plumbers Detect Underground Water Leaks
1. Water Meter Testing
Our experts first conduct a meter test to confirm a leak. If the meter runs continuously even when water is off, this signals a hidden issue.
2. Acoustic Leak Detection
Using specialized equipment, we listen for irregular water flow sounds underground. This method helps us pinpoint leaks without digging.
3. Infrared Camera Inspections
Infrared technology allows us to detect temperature changes in the ground, helping locate moisture buildup from leaking pipes.
4. Pressure Testing
A pressure test helps determine leak severity. If pressure drops quickly, this indicates a substantial leak.
5. Tracer Gas Detection
For difficult-to-find leaks, we use non-toxic gas that escapes through pipe cracks, revealing precise leak locations.
6. Camera Inspections
A small waterproof camera is inserted into pipes to check for cracks, root intrusion, and corrosion. Learn more about remote camera inspections here.
Affordable Underground Leak Repairs in Las Vegas
At Active Plumbing & Air, we offer affordable pricing and top-quality repairs to fix leaks efficiently. Our services include:
✔ Water Main Leak Repairs – From the meter to your home, we ensure leaks are sealed properly.
✔ Outdoor Leak Inspections – We check external pipes to optimize water system efficiency.
✔ Emergency Shut-Off Valve Installations – Protect your home with quick water shut-off options.
✔ Water Heater Repairs & Installations – We install tank-type and tankless water heaters for better efficiency.
If you’re dealing with a leak, schedule a service today with our licensed professionals:
Why Choose Active Plumbing & Air?
• Over 30 Years of Experience – Trusted in Las Vegas for decades.
• Family-Owned & Local – Dedicated to excellent customer service.
• 4.9 Stars on Google (819+ Reviews) – Proven customer satisfaction.
• Certified by the Las Vegas Valley Water District – Guaranteed quality service.
• Affordable Pricing & Top-Quality Work – Reliable, cost-effective solutions.
Schedule Your Leak Inspection Today!
Ignoring a leak can lead to high repair costs and severe home damage. If you suspect an underground water leak, don’t wait! Schedule a professional inspection with Active Plumbing & Air today.
💧 Protect your home and save water—contact us now! 💧

